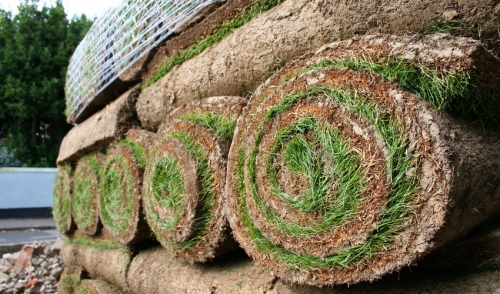
If your lawn is looking dingy, it may just be time for a fresh start. Properly laid sod can quickly give you the beautiful results you’re looking for. In eight steps, we’ll show you how to make that new lawn a reality:
1) Clean the area
Before starting anything, you’ll need to remove such things as weeds and debris.
2) Till it
The day before, thoroughly dig up the area with a rototiller to break up the soil.
3) Rake and Stomp it
Next, you’ll need to rake out any old loose grass, rocks and roots left behind from tilling. After you rake, flatten out the ground as evenly as possible so the sod has an even surface to lie on. It is best to use a lawn roller to create a smooth, even surface.
4) Nutrients
After stomping the area, apply soil conditioner as well as fertilizer. This will provide nutrients to the sod while it’s rooting itself in the ground. Lightly rake the fertilizer just under the surface.
5) Laying sod
When the sod arrives, it is important to lay it as soon as possible. Start with the outside edges and work your way in, placing the sod in a brick-like pattern, so that the rows of sod don’t line up into a long seam. If you find that the sod doesn’t lie evenly, apply soil where you need it. When you are done fitting the sod, there shouldn’t be any raised edges or cracks.
6) Tamp the sod
Now that everything is laid out, you need to make sure it stays there. Tamp all the edges down with a vertical rake and fill in any cracks with topsoil rather than trying to stretch the sod.
7) Water it
Now that the sod is down, it needs to be cared for so it can take root. For the next week or so, water the grass every day. Do not step on the grass because at this stage, it is very vulnerable.
8) Cutting
After that initial week of watering, start cutting the lawn with a lightweight push mower. Make sure the blade is sharp and you don’t cut more than one-third of the grass length. After you have made the first cut you will able to feed the lawn with a lawn fertilizer.


Comments